
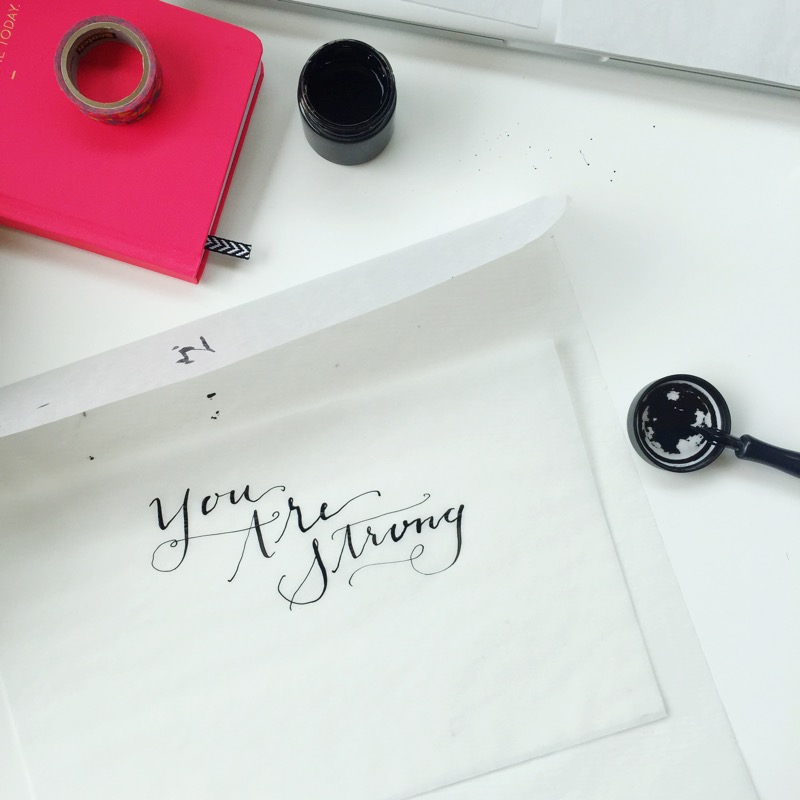
Last week I finally had the exciting chance to take my first live calligraphy workshop!

Being a hand-lettering lover (and teacher) I’ve always been interested in calligraphy but really felt I needed to learn from someone in person to make sure my form was correct. When I saw an email come through from my favorite shop in San Diego, Pigment, letting me know they were hosting a workshop, I jumped at the chance.
The event was last Saturday, and I thought I would share a few highlights from what I learned on the off chance that any of you self-made creatives want to learn the art form as well!
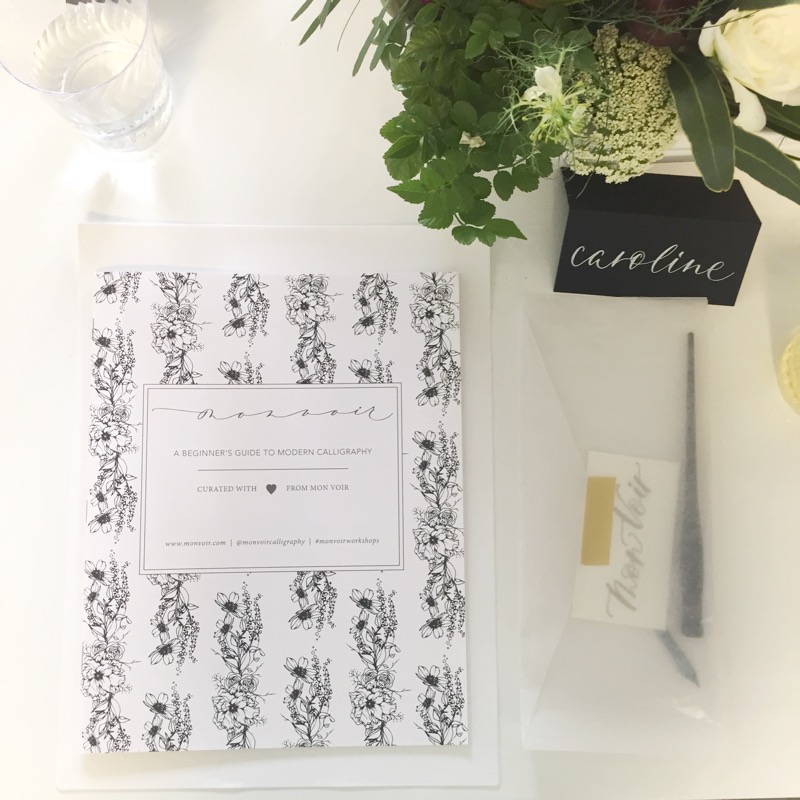
Let me just start by saying, though, that everything I’m sharing with you is second-hand from Jenna, the workshop teacher, owner of Mon Voir Calligraphy. Jenna is incredibly talented (not to mention super down-to-earth and hilarious) and has been practicing calligraphy for YEARS, so if you really want to learn, I suggest enrolling in one of her live workshops. These tips will give you a foundation, but having been to the class, there is simply no substitute for having a professional watch over your shoulder, helping you correct your form. She was also so great at writing out words/letters for us if they were tricky so that we could practice from her examples.
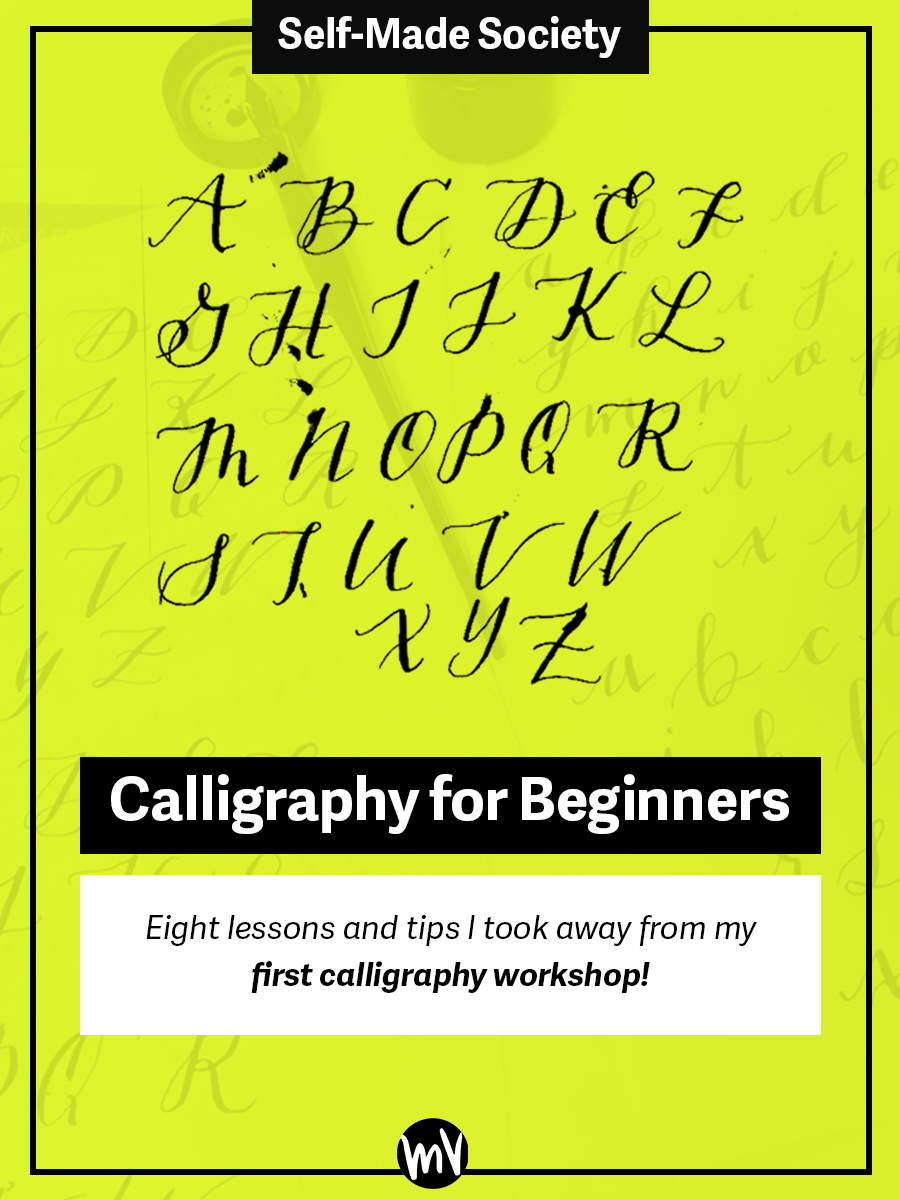
And now, without further ado, here are the main lessons I took away from my first calligraphy workshop:
1.Tools matter.
No, not like dudes that are arrogant… those tools most certainly do NOT matter. Calligraphy tools on the other hand? Oh yeah. Big time. Listen, I admit it, I’m the girl who uses a cheap drawing pad and pens/sharpies from Target in my lettering, mainly because I know that tools can be intimidating and I want people to know that you can learn the basics of drawing letters with nearly any writing/drawing/painting tool. Calligraphy is different, though. I repeat: calligraphy is different. Tools matter here. I learned this fairly quickly after I got home from the workshop, tried practicing on some tracing paper I had (not made for wet mediums) and it was a disaster. I also learned from Jenna that the firmness of different nibs will yield some drastically different results so I learned that investing in quality tools and doing some research (read: Googling) about the difference between tools will go a long way.
2. Know the correct position of your pen holder, nib and paper.
One of the first things Jenna taught us is that you want your pen holder to be directly underneath the letters you’re creating and the pen should be close to parallel to the long edge of your paper. If you’re like me and tend to write with your pencil pointing up and to the right of your letters, that’s gonna be a fun one for you to practice! I spent the whole first 20 minutes practically learning how to hold the pen correctly and commit that position to memory. To help achieve this alignment, you can also rotate your paper counter-clockwise which helps create the right angle relative to your arm/pen holder. Your nib as you write should be angled about 35 degrees, with the right side tilting up.
3. Repetition creates muscle memory.
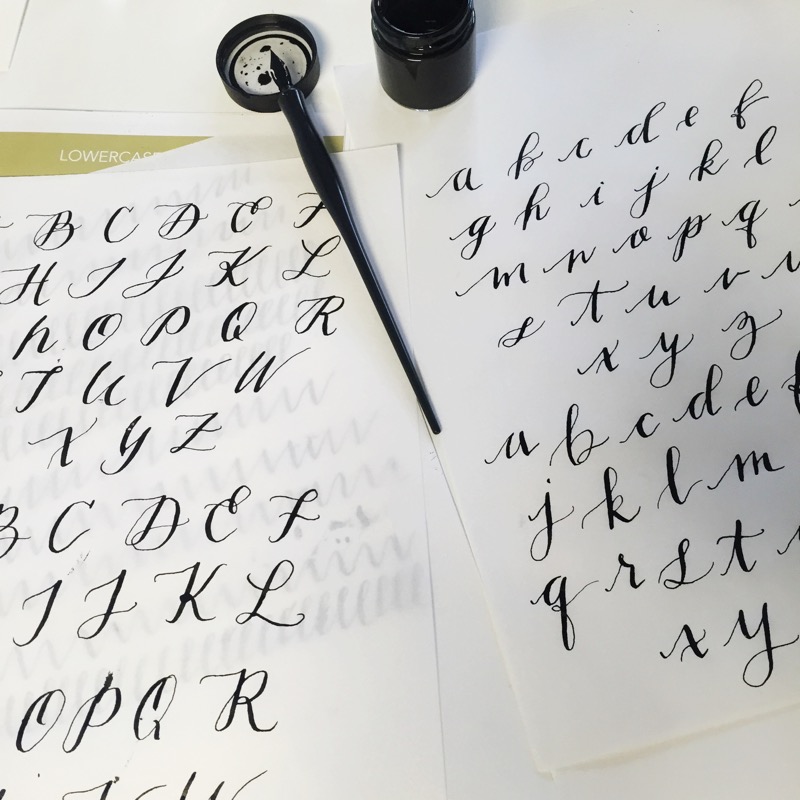
Probably the best part of class for me -- the part where I actually thought to myself, Look, I’m doing it! -- was when we practiced these simple continuous shapes of lowercase l’s, u’s and o’s. Why? Because doing that one letter form over and over really helped engrain it in my muscle memory. In the future, as a way of practice, I’ll definitely be practicing one letter at a time over and over until I feel it comes more naturally to me.
4. Light on your upstrokes, heavy on your downstrokes.
This might be a no-brainer for some, but just in case it’s not, this one rule is what creates those beautiful variations in stroke widths across your words. When you pull your nib up or across, you want it to barely even touch the page - that creates those “hairline,” thin strokes. When you arrive at a downstroke of a letter and you’re drawing your nib down, that’s when you switch it up to heavier pressure, which widens the tip of your nib and creates a thick stroke.
5. Dip your pen to the bottom of your ink jar.
I had no clue, but did you know that the ink flow actually comes from the ink covering this tiny hole in the middle of your nib (the “vent” it’s called.) I’m no physics expert so I won’t even pretend I know how this happens; all I know is that if that opening is not covered in ink, your nib is likely going to scratch across your paper making a terrible sound and leaving nothing but empty scratch marks. Jenna told us to dip our pen holder to the bottom of the jar which submerges the nib fully, then to scrape the excess three times on the side of the jar before putting the nib to the page. Every three letters or so I’d have to dip my pen again, but it definitely ensures you get a great ink flow. A great tip Jenna offered was to make sure that if you’re going to dip your pen, you pull up at the beginning of a downstroke so that when you go to connect the new pen stroke, you’re not trying to connect a hairline to a hairline (making it super noticeable where you took the pen off the page.)
6. Use your whole arm to move your nib, not just your fingers.
This is probably the single thing I had the most trouble with during class, but the one thing that made the biggest difference in the quality of my practice. In lettering, I’m used to letting my fingers do the moving. I use my arm for stability and my fingers for fluidity. That mechanism works for me. However, in calligraphy, if you use your fingers, this creates tension and disrupts the beautiful form that creates your fluid curves. Using your arm/wrist helps the pen holder stay steady and at the correct angle against the paper which is super important to getting a consistent ink flow in your upstrokes and downstrokes. Because of this, I’ve also found that putting an extra piece of paper below my “canvas” paper, closer to the edge of the table I’m working on, helps me glide my arm more easily up and down the page (rather than catching on my desk that is lacquered and sticks to my arm.)
7. Relax.
Pigment was nice enough to have some snacks and wine available for nomming on while we took the class, and boy was I glad! I kid you not, a glass of wine made such a difference in the shape of my strokes! Taking a moment to take a deep breath and not over-think it really helped me start to see more fluidity in my letters. It’s an art form that relies on smoothness and movement, so the more relaxed you can be as you practice, the better.
And… of course… everyone’s favorite tip:
8. Practice is where it’s at.
There’s definitely no easy way to get great at calligraphy. It takes muscle memory and creating a connection with a tool that can feel a little unnatural at first. There are so many things to consider with something as intricate as calligraphy (Is my nib angled right?, Is my arm positioned correctly?, When should I refill my ink?) that the only way to make all of that become second nature is to practice and let it soak into your brain.
So… that’s it! By the end of class, I was pretty happy with the progress I had made.
My goal from now on is to practice at least three days a week (sprinkled in between my daily lettering practice.) It’s definitely something that I’d love to get comfortable enough with that I can create my own unique style, like Molly Jacques, for example. Her calligraphy is wild and distinctive, and I’d love to develop a style that feels completely authentic to who I am.
Have you ever practiced calligraphy or taken an online calligraphy course? Do you have any other helpful tips?
Let me know in the comments!


